
DIY: Paper Maché Succulent Garden

Does the wilting monstera plant in the corner of your living room keep you up at night? Is photosynthesis your least favorite word in the dictionary? Has your green thumb been ignoring your calls for the past year and a half? If the answer is yes, don't despair, your days of dying plants are over! With a beautiful, super easy to make DIY paper maché succulent garden, you may never have to touch a watering can again. (That is unless you're recycling into a cool found object sculpture...for instance as a pot for your new paper plants!) We featured this in issue #4: The Grow Issue. Just for you, we've expanded the steps in full, glorious, step-by-step photographic detail. Enjoy!
Paper Maché Succulent Garden
Here's everything you need:
-stack of old newspapers
-scissors
-mod podge (or your own paper maché glue recipe!)
-a large bowl
-masking tape
-aluminum foil
-colorful paper
-paint brushes
-acrylic or tempera paint
-terra cotta pots, or any kind of small container for your plants
-tissue paper
-a tablecloth or more newspapers to keep your table clean, this project is messy!
-optional: blow dryer, for faster drying time!

Step 1 - Mold the aluminum foil into plant like shapes. The masking tape can be helpful for keeping your sculpture in place.

Step 2 - Cut your newspaper into 1 - 2 inch strips. You're going to need a lot of it, so don't be afraid to cut up a whole stack! (Just make sure everyone is done reading it first!)


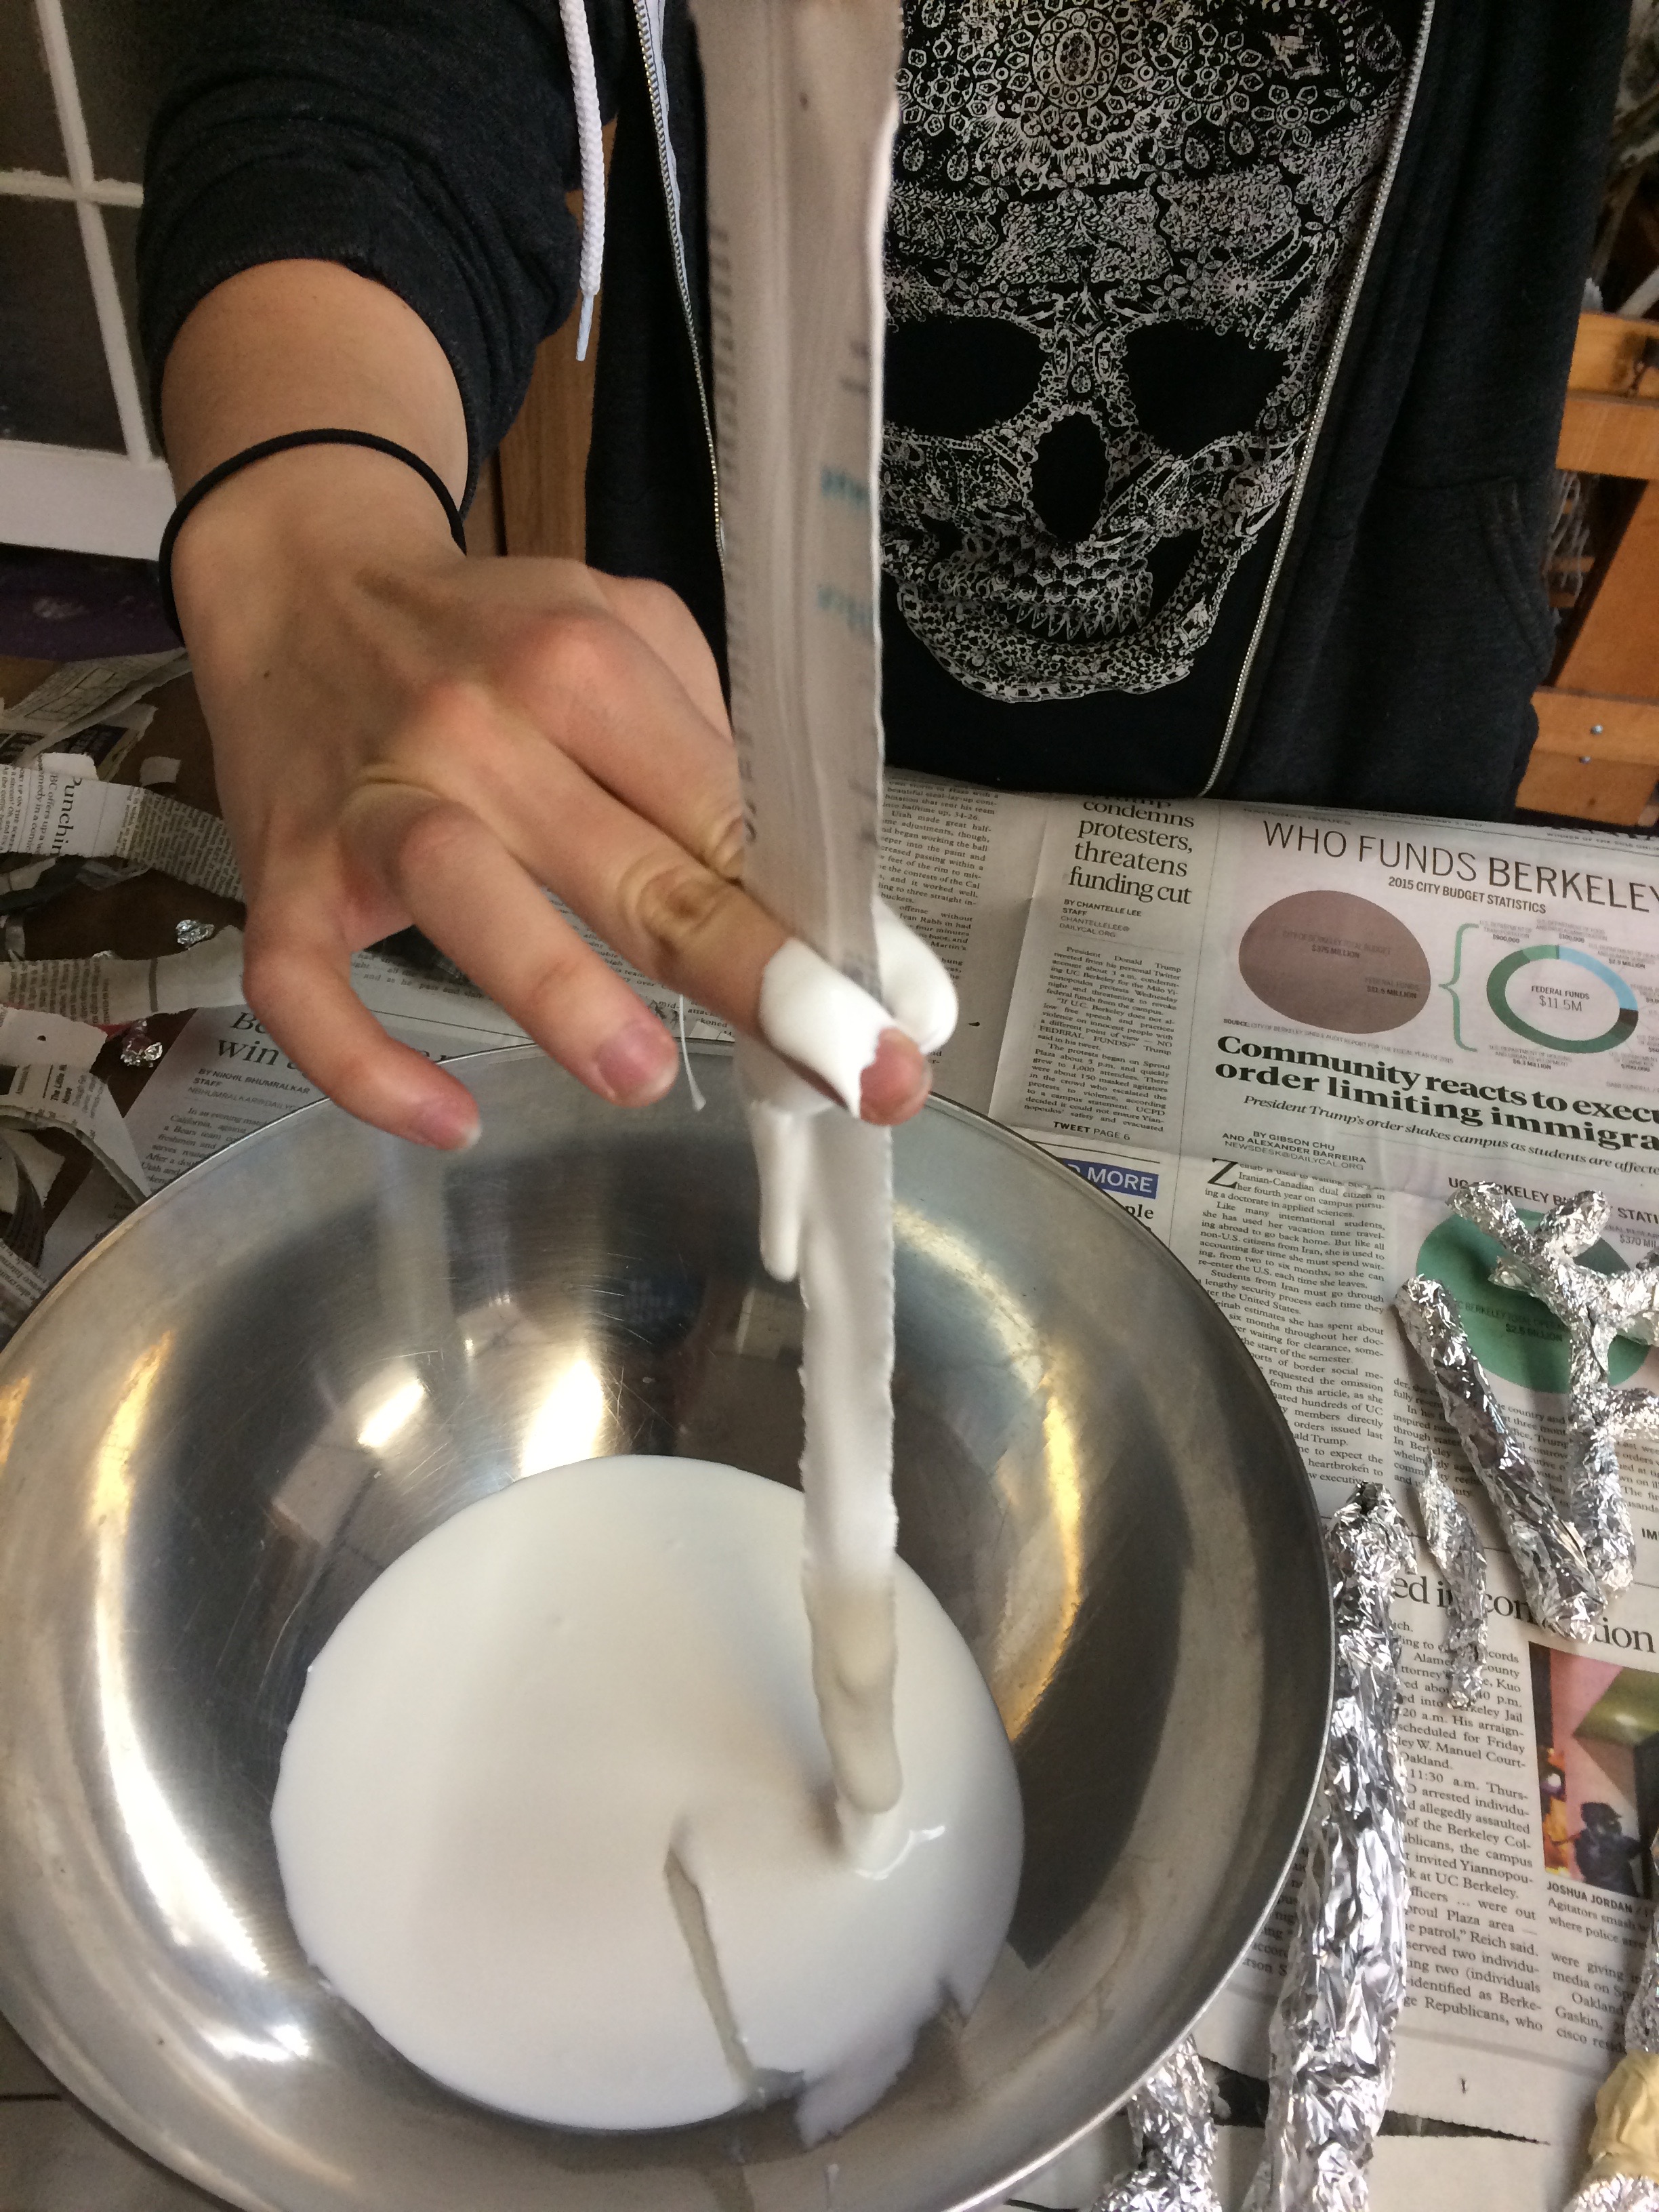
Step 3 - Dip a newspaper strip into the mod podge. Use two fingers to squeeze off the extra glue. Pro tip: You just want to cover your entire strip in a thin layer of 'podge. If you're strips are too wet, you're sculpture will be very soggy and won't hold up. Too little, and it won't stick to the aluminum.

Step 4 - Tightly wrap the newspaper strips around your aluminum shapes. The tighter you wrap around, the more your sculpture will stay true to it's original form and not get too lumpy. Cover your shapes completely three times around.

Step 5 - Lay out your wet, wrapped shapes on a piece of newspaper to dry overnight or simply blow dry!

Step 6 - Once dry, paint your succulents and pots to your heart's content! You can also glue on bits of paper for embellishments. I used Sakura's Pen Touch Markers to add on details, they're so much fun to use.

Step 7- Put your plants in your pots with some tissue paper as "dirt" to keep them in place. And voilà, it's your own paper maché garden! At long last, your green thumb can come out of hiding.
This DIY activity is featured in Illustoria's Issue 4 — The Grow Issue! This issue is chalk full of amazing projects, stories, and comics and it's available at your local bookstore or our online store!